Creating a Wi-Fi watering controller based on ESP8266 is one of the most popular and practical DIY projects for a smart home. Thanks to the availability of components, Home Assistant support, and automation capabilities, this project is ideal for those who want to control the watering of their lawn, greenhouse, or indoor plants remotely and on a schedule. In the first part, we will focus on the hardware and basic controller setup.
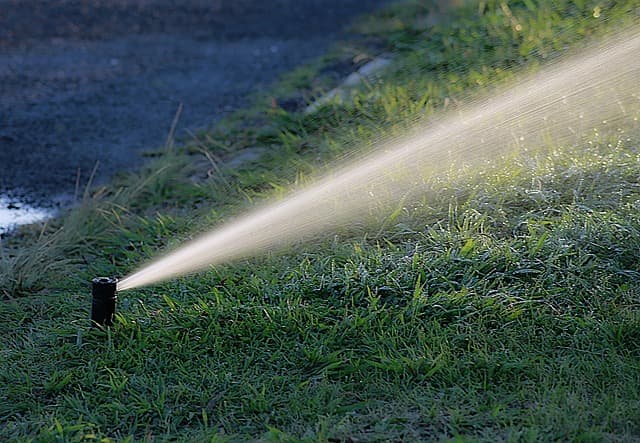
The ESP8266 microcontroller is used as the basis, most often in the form of a NodeMCU or Wemos D1 Mini board. This is a compact and inexpensive device with Wi-Fi support that can be easily integrated into Home Assistant via ESPHome or MQTT. Relays (usually 1, 2, or 4 channels, depending on the number of watering zones) are connected to the ESP, which control the solenoid valves. These valves are connected to the water supply and open when a signal is received from the relay, allowing water to flow to the plants.
Typically, the circuit looks like this: the ESP8266 is powered by a 5V adapter or microUSB, the relays are connected to its GPIO pins, and the valves are connected to the relays. It is important to remember that most valves operate at 12V or 24V, so an external power supply is required, and to control such loads, you need to use relays with the appropriate specifications or transistor switches. Some enthusiasts add 1N4007 diodes to the circuit to protect against reverse current when switching off an inductive load.
In terms of installation, the controller housing is often made waterproof, especially if the device is installed outdoors or in a utility room with high humidity. You can find suitable plastic boxes with DIN rails for secure mounting of relays and boards on AliExpress or eBay. Many also use sealed connectors to connect valves and sensors to prevent oxidation of the contacts.
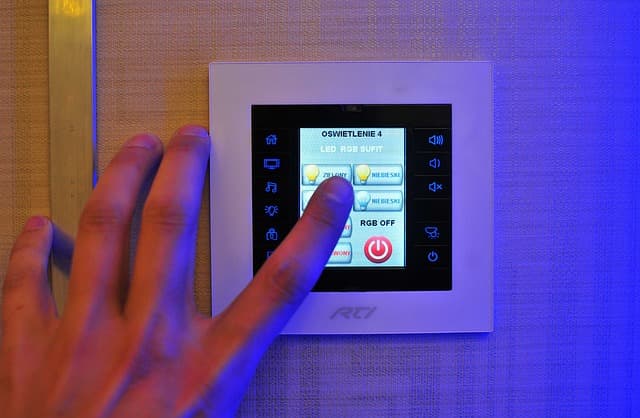
In order for the controller to interact with Home Assistant, the board firmware is made using ESPHome. This allows you to set the activation and deactivation of watering zones, set delays, trigger conditions, and get the ability to control via the Home Assistant interface with just a few lines of YAML code. You can also configure OTA firmware updates and status monitoring directly from the smart home interface. As a first step in configuration, it is enough to set the device name, Wi-Fi connection, and the pins to which the relays are connected.
The project is easily scalable. You can add soil moisture sensors, rain sensors, or solar monitoring so that watering only occurs when necessary. You can also set up a watering schedule based on the time of day or weather forecast through integrations such as OpenWeatherMap or AccuWeather.
This part focused on the hardware implementation and initial firmware of the device. The next part will cover setting up automation in Home Assistant, adding zones, controlling via a mobile app, and creating logic based on weather conditions. The ESP8266 Wi-Fi watering controller is a project that is not only useful in everyday life, but also greatly develops skills in working with electronics, microcontrollers, and the smart home ecosystem.