Video surveillance on Raspberry Pi is an inexpensive and flexible solution for setting up a surveillance system at home, in the office, or at a vacation home. Thanks to a large community, a wide range of supported cameras, and affordable software solutions, the Pi can become a full-fledged video server with recording, streaming, and motion detection capabilities.
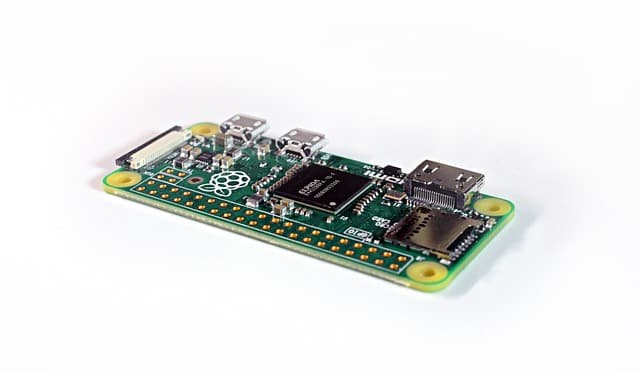
The Raspberry Pi 3 or 4 board is used as the basis, preferably with active cooling. The newer model will ensure stable operation with multiple video streams. As a video source, you can use either the official Raspberry Pi camera (connected via a CSI connector), a USB camera, or a network IP camera with RTSP support. Cameras are installed in protective housings if used outdoors and connected to power and the network.
The most popular video surveillance software for Raspberry Pi is MotionEyeOS or MotionEye as a standalone package for Raspberry Pi OS. Installing MotionEye is quite simple: you need to install Python dependencies, configure the configuration file, and run it through systemd. The MotionEye web interface provides a convenient way to add cameras, adjust recording quality, and manage motion detection and schedules.
After adding a camera to the interface, you can select stream settings — resolution, frame rate, motion detection sensitivity. MotionEye can save frames or videos when the detector is triggered, as well as upload them to the cloud or local storage. For storage, it is recommended to use an external drive or USB flash drive to avoid wearing out the SD card. MotionEye also supports sending notifications to email or via webhook when motion is detected.
An alternative is to use Frigate, a more advanced video surveillance system with Home Assistant integration and support for object detection using neural networks. Frigate requires a Raspberry Pi 4 and an external USB accelerator such as Google Coral. Frigate allows you to detect not just motion, but the presence of a person, vehicle, or animal in the frame, which reduces the number of false alarms. Recording can also be done in 24/7 mode or on an event basis.
Monitoring can be done via a local interface on a computer or smartphone. Most solutions have web access via the Pi’s IP address and port (e.g., 8765 for MotionEye). You can also embed video streams into the Home Assistant or Node-RED interface to create triggers, such as turning on the lights when there is movement at the entrance.
The video surveillance system on Raspberry Pi is easily scalable. You can connect multiple cameras, use different types of recording (cyclic, motion-activated), and export data to NAS or the cloud. When using a static IP and port forwarding, remote connection is also possible, but it is important to take care of security: change the default passwords, use HTTPS or VPN.
Raspberry Pi with video surveillance software becomes not just a camera, but a full-fledged security system that does not require cloud subscriptions and can be flexibly configured for any task. It is a convenient, economical, and completely autonomous option for both enthusiasts and practical applications.