
In today’s article, I wanted to walk through our nursery and give an overview of projects that have helped us automate bedtime and monitor our kiddo. I’ve mentioned a few on the blog before but wanted to bring them all together and show some newer automations I’ve created. I use Home Assistant to combine different devices from different brands and protocols (Z-Wave, WiFi and Ethernet) to create our smart home nursery.
I hope you get some inspiration for a new project from this post. Would love to hear about other automations you’ve created for your kid’s rooms or nursery.
Sound Machine
The first thing I wanted to mention was the custom sound machine I built for our son’s room. The sound machine uses an ESP8266 and an SD card to play some relaxing ocean waves crashing while he sleeps.

While it is connected to Home Assistant, we rarely turn it on/off via the UI or automations. It has local buttons we use to control. We always start up the sound machine when putting our son down for a nap or for bedtime and also press the same local button when getting him out of his crib.
This might not seem important at first, but having these local buttons we press basically gives Home Assistant the knowledge of whether our son is supposed to be sleeping or not. This gives us a ton of flexibility as automations as they can be tied to his changing sleeping schedule.
Now that we know when he’s sleeping, we can start to automate the lighting.
Lighting
Usually, the first thing people think about or do when getting into Home Automation is automating their lights. No different here, I wanted a good way to automate the lights to create a smart home nursery.
The big difference for a nursery vs a more typical room is that there is a naptime scheduled in the middle of the day (thankfully). So our lights don’t need to just come on at the beginning of the day and off at night, they will cycle in the middle of the day as well.
The way we set up our Nursery we basically have three types of light sources:
- The overhead lights, controlled by a Z-Wave light switch
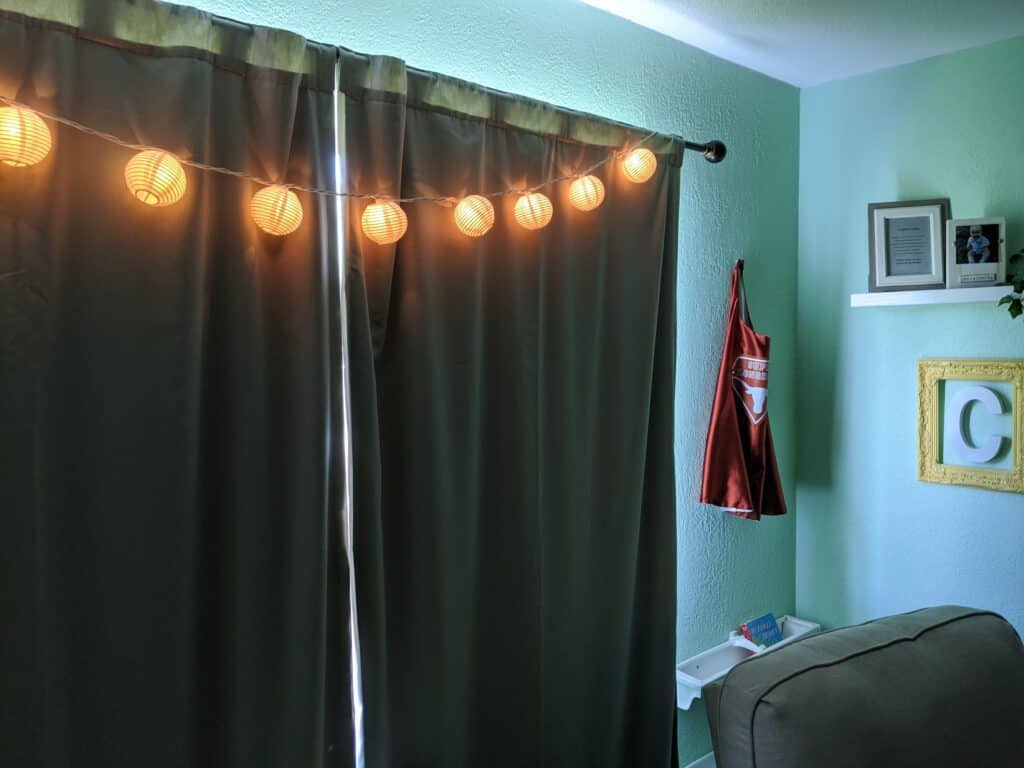
- Some softer “string lights” controlled by some ESPHome flashed smart plugs. See my previous article about using Tuya-Convert to accomplish this.
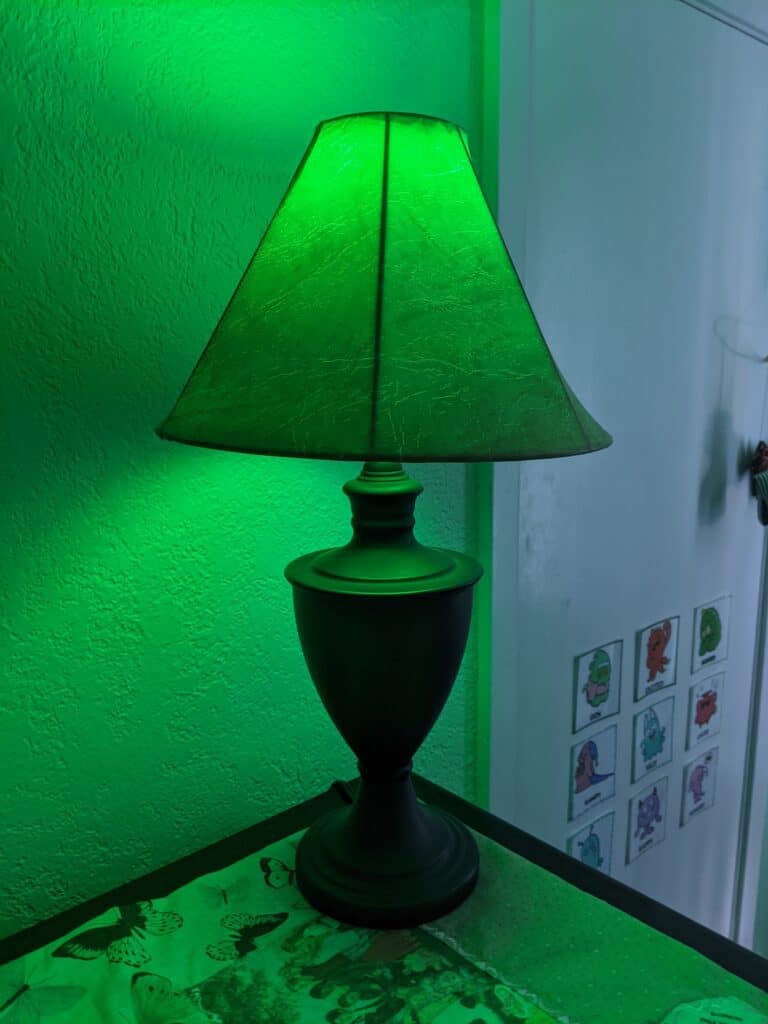
- A Z-Wave RGB light bulb in a lamp. Acts as a nightlight and a “stoplight” for our kiddo that it’s time to get up. See my previous review about the details of that bulb.
Using these three light sources we’ve created a pretty good automated solution that fits our current schedule.
Setting a Schedule
Our nursery lighting schedule is basically a loop that happens twice a day, once for the evening and once at naptime. The flowchart below shows the basic process where the “green” states are when our son is supposed to be sleeping and “blue” states are when he is awake.

Essentially every morning at 6:00 AM his nightlight goes green, telling him he can get up and start playing. Some times he sleeps in past that, but most of the time he’s starting to wake up right around that time.
Once he’s up and moving, me or my wife will go in and get him and turn off the sound machine. This triggers an automation in Home Assistant to start a 5 minute countdown timer. We like to keep the room dark as we first pick him up and change his diaper.
When the timer expires some softer string lights turn on and the nightlight goes off. Another 30 minutes passes and the overhead lights turn on and the day has begun.
Eventually naptime comes around and at 11:20AM the room turns off all the overhead lights and changes the nightlight to yellow. If we’re playing in his room we’ll know it’s time to start winding down for the nap. Once we put him down we turn on the sound machine on the way out.
The whole thing repeats itself in the afternoon once 1:30 PM rolls around and he’s done with his nap.
Writing the Automation
The automations for this is pretty straight forward. The sound machine is a basic switch in Home Assistant so I can trigger the wakeup routine when the sound machine turns off for 5 minutes. I like to use Home Assistant scenes to group my light settings.
Here are a couple of the automations to trigger scenes:
|
1 2 3 4 5 6 7 8 9 10 11 12 13 |
description: Start soft lights after sleeping alias: Nursery Start Playtime trigger: - platform: state entity_id: switch.waves_crashing to: "off" from: "on" for: minutes: 5 action: - service: scene.turn_on entity_id: scene.nursery_playtime |
|
1 2 3 4 5 6 7 8 9 |
description: Signal that naptime is done alias: Nursery Finish Naptime trigger: - platform: time at: "13:30:00" action: - service: scene.turn_on entity_id: scene.nursery_wakeup |
Lovelace Interaction
Every once in awhile we want to adjust some of the times on the fly. Maybe we can tell he is really going to sleep in and don’t want the nighlight going “green” until it really has to.
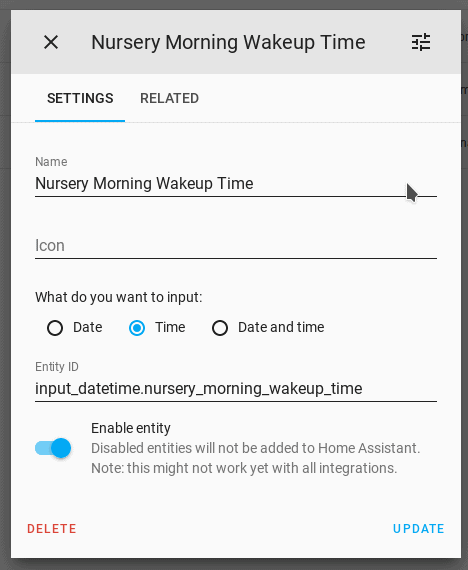
To accomplish this, you can use Input Datetime entities to help customize your alarm times. These give a nice UI element in Lovelace to customize a time. The end result looks something like this:

You can add new Input Datetime entities by going to “Configuration- > Helpers” and selecting the “Date / Time Helper”. Here’s a look at one of my configurations.
Finally, you need to change your automations to now trigger off of these entities, instead of a hardcoded time. We can compare the current time (using the time sensor) with the current value in the input_datetime.
|
1 2 3 4 5 6 7 8 9 10 11 12 13 |
--- # Set the lights in the nursery for waking up. Trigger when the input_datetime # matches the current time. description: Switch to wakeup scene in the morning alias: Nursery Morning Wakeup trigger: - platform: template value_template: "{{ states('sensor.time') == (state_attr('input_datetime.nursery_morning_wakeup_time', 'timestamp') | int | timestamp_custom('%H:%M', True)) }}" action: - service: scene.turn_on entity_id: scene.nursery_wakeup |
Overall, the system has been working great for us and it’s really nice to not have to manually control these lights throughout the day and when we’re getting him out of bed. It works really well with his schedule and rarely needs any manual changes.
Baby Monitor
While automated lighting is nice to have in a smart home nursery, I think everyone would agree having some sort of baby monitor is a necessity. I don’t really have any automations set up around our baby monitor and I’ve written about it before so will mostly link to other articles.
Essentially though, we decided to go with a two-prong approach for a baby monitor. First off, we have a really basic audio-only baby monitor we use. This just gives us peace of mind while he’s sleeping and has a decent battery so we don’t need to worry about charging it as much. It’s also convenient to take to hotels, grandparent’s house, etc…
Being it’s the 21st century, we also wanted video. We decided to buy a PoE camera and install it into our nursery ceiling instead of buying some wireless video camera marketed to new parents. Once he gets old enough we can re-purpose that PoE camera outside for surveillance. We landed on the Ubiquiti G3 Dome, but there are lots of good discussions online about PoE cameras. I detailed how I installed it a while ago on the blog.
Finally, I used a Raspberry Pi to pull the RTSP stream from the camera onto our living room TV as an HDMI source. We use this constantly to check the camera without having to mess with getting our phones out.

Closing Thoughts
That’s the rundown of the smart home tech we use in one room in our house. The lighting automation in particular works really well for our schedule and shows the power of Home Assistant for making all these home automation systems work together nicely. I’d still like to automate the ceiling fan in the nursery but haven’t gotten around to it yet. It would be great to hear any ideas you have about improving the automations or other ideas for a smart home nursery.
If you found this Home Automation tutorial helpful, check out some of my other articles:
- Zooz ZEN22 Z-Wave Dimmer Switch Review
- Convert Your Pull-Chain Ceiling Fan to Z-Wave
- Chair Presence Detection using Ultrasonic Distance Sensor
Please consider supporting the blog by joining my mailing list, following the blog on social media or directly through Buy Me a Coffee. All of those really make a difference, thanks for reading!