
I recently wanted to overhaul my outdoor lighting. I wanted for all my outdoor lighting to be dimmed around dusk, so that my house was accented but not be too bright. But if any motion happened around the house, I wanted all the lights to go full brightness for some added security. Last week I reviewed the ZEN22 dimmer switch that can control lighting. This week I’ve got the Zooz ZSE29 Z-Wave Outdoor Motion Sensor to sense when motion occurs around my property.
The Zooz ZSE29 is available from Amazon and The Smartest House. It’s a Z-Wave Plus outdoor-ready motion sensor that can be battery powered or powered with a USB adapter. It’s got a motion detection range of 30 feet and with a little bit of work, integrates with Home Assistant. Enjoy the full review!
Zooz sent me this product for free to review on my blog. All thoughts and opinions are my own. I only recommend products that I enjoy using and would be comfortable using in my personal smart home.
Features
Physical Design
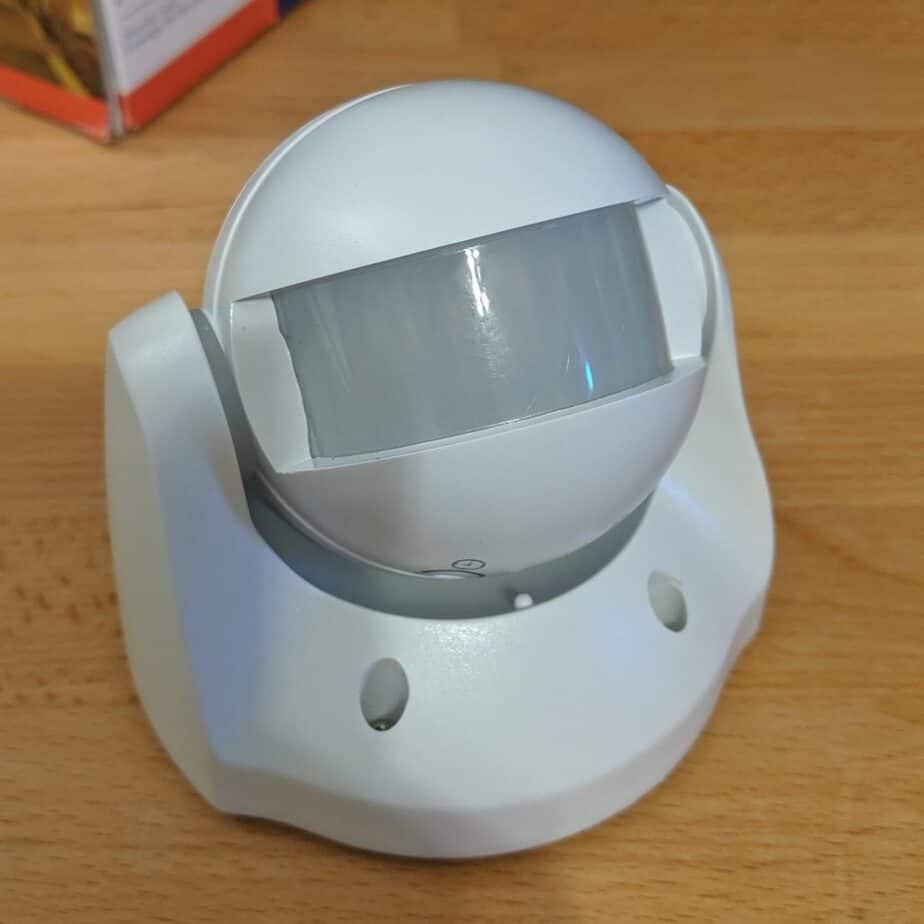
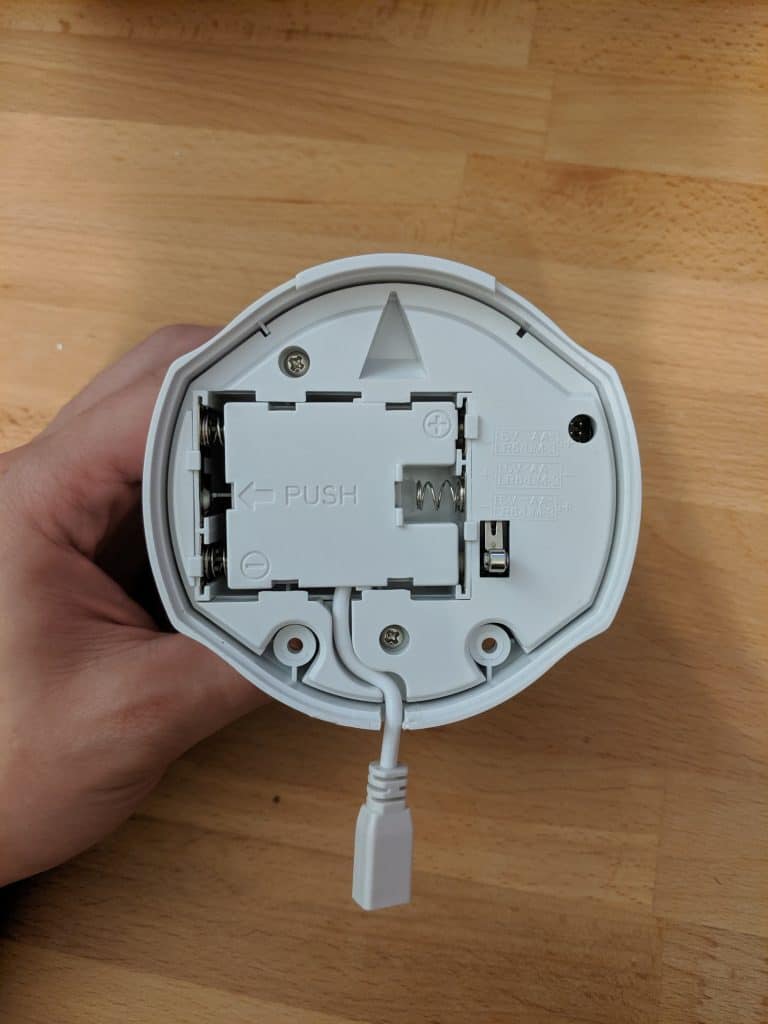
Overall, I like the physical design of the ZSE29. It is a simple design that doesn’t look out of place when mounted on your house. The device is IP44 rated and has outdoor-ready housing. However, the manual does say to avoid direct sun and rain. The manual also mentions it shouldn’t be mounted facing a window or above any heat source (radiator, boiler, etc). There is a tamper switch on the back of the sensor so you can detect if the sensor is being messed with.
When the battery is low, the LED in the device lights up when motion occurs to indicate that it’s time to replace the battery. The sensor can be tilted up and down, so you can adjust it to point at your main subject area.
Power
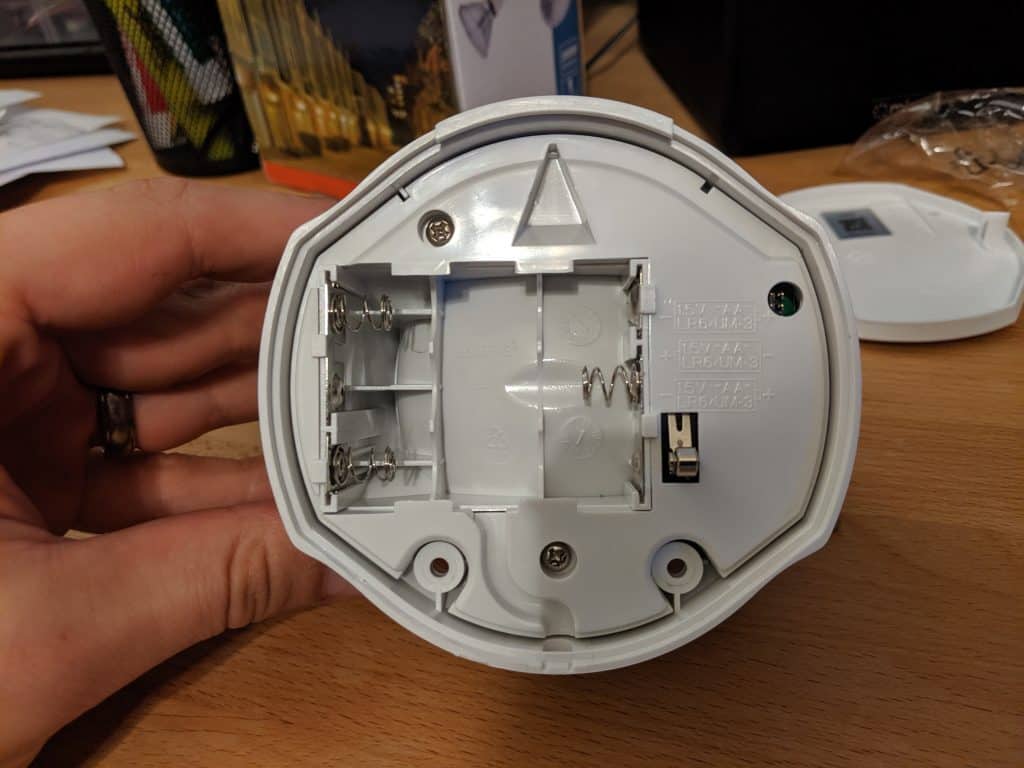
The Zooz ZSE29 allows you to power the device from batteries or using a USB power adapter. If you go down the battery route, the sensor takes 3 AA batteries that should last up to a year depending on traffic, weather condition and general quality of the batteries.
If you decide to power the ZSE29 using the USB power adapter there are a couple of things to keep in mind. Unlike most other Z-Wave devices, when the ZSE29 is powered it doesn’t actually act as a repeater. It essentially always joins the network as a sleeping node, regardless of the power source. If you’re considering putting it in a central place to boost the connectivity of your network, you won’t be getting any benefit.
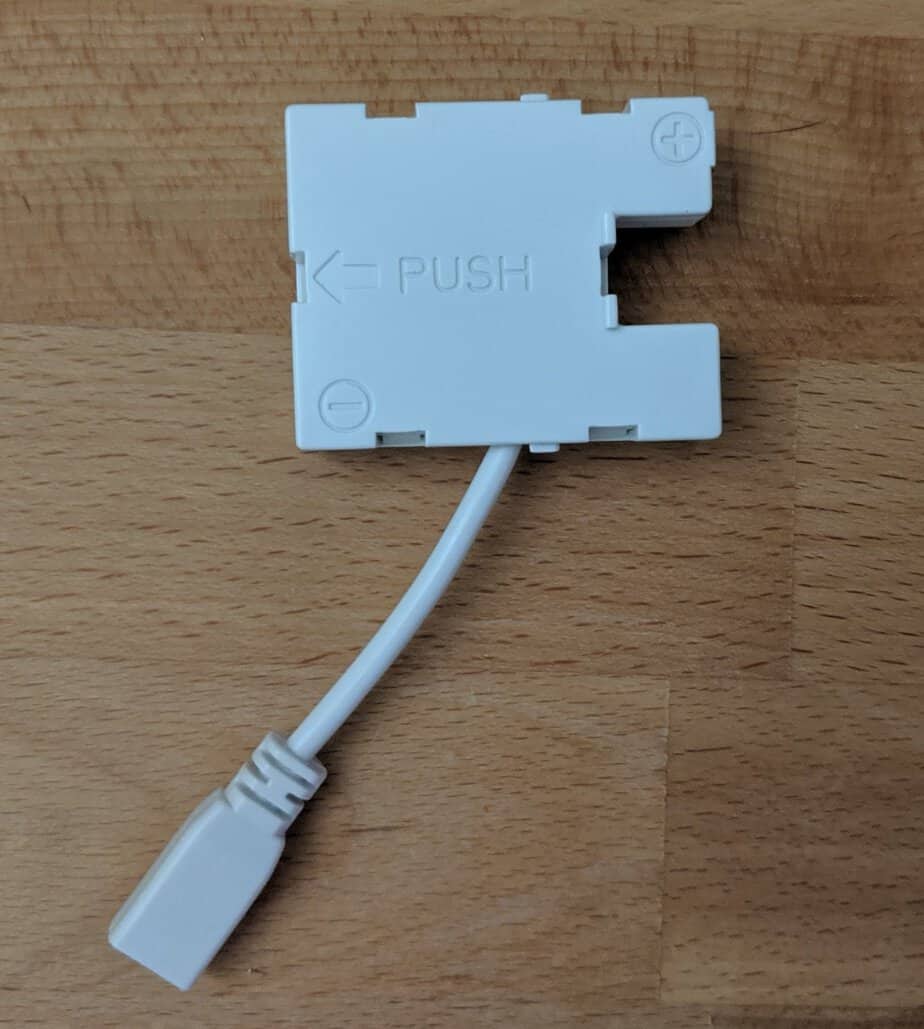
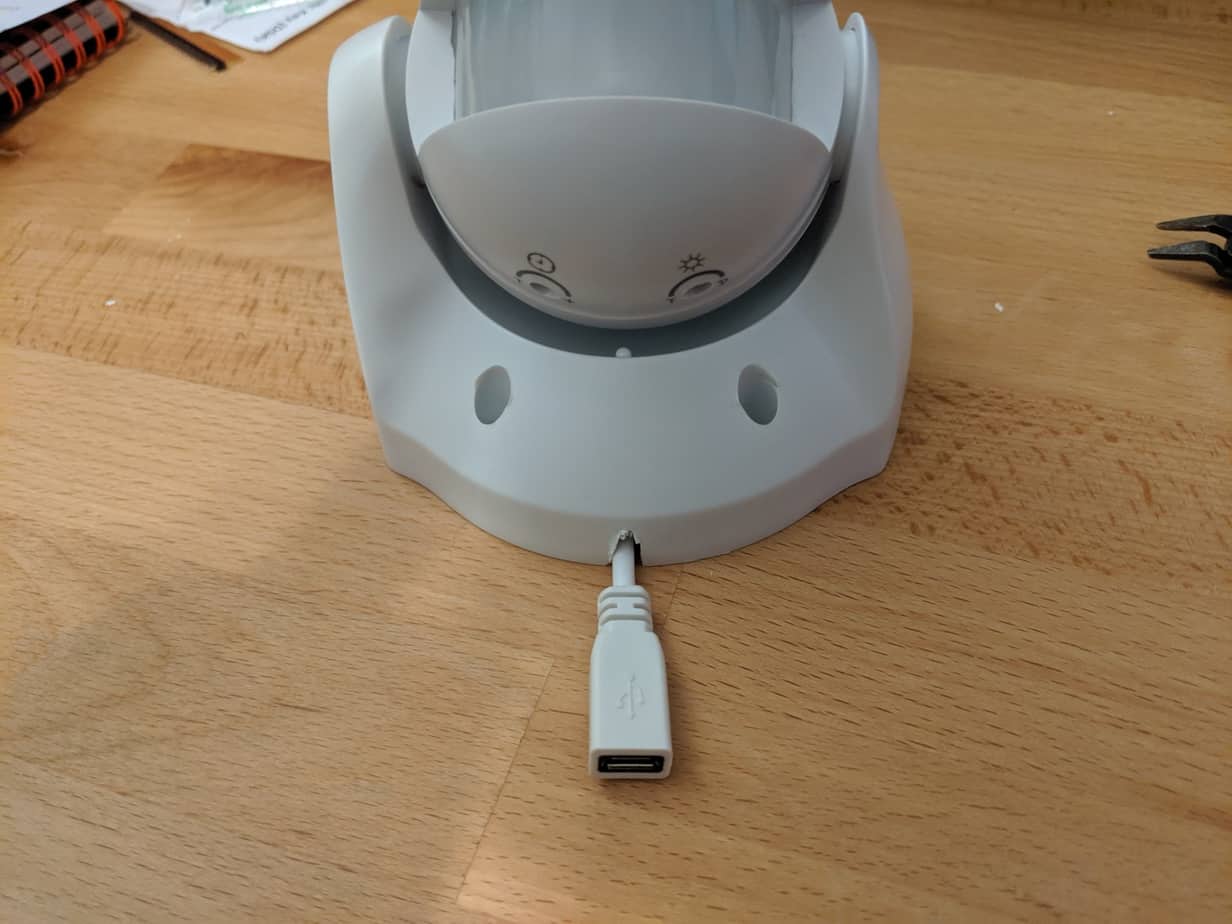
Also, I’m not a huge fan of how the USB power adapter looks with the device. You need to notch out a perforated hole in the bottom of the housing to run the included USB cable. I think this takes away from the overall clean look of the device. It would better if you could somehow hide this cable through the back housing so you wouldn’t have to see the cable. Not sure how this would work in practice, but something to keep in mind.
All in all, I decided to go the battery route. The batteries should last up to a year and I didn’t have power readily close to the device already, so I went the easy route. Plus like I mentioned, I like the aesthetic more without the cable. Check out the Home Assistant section down below to see how I monitor the battery level in Home Assistant.
Configuration
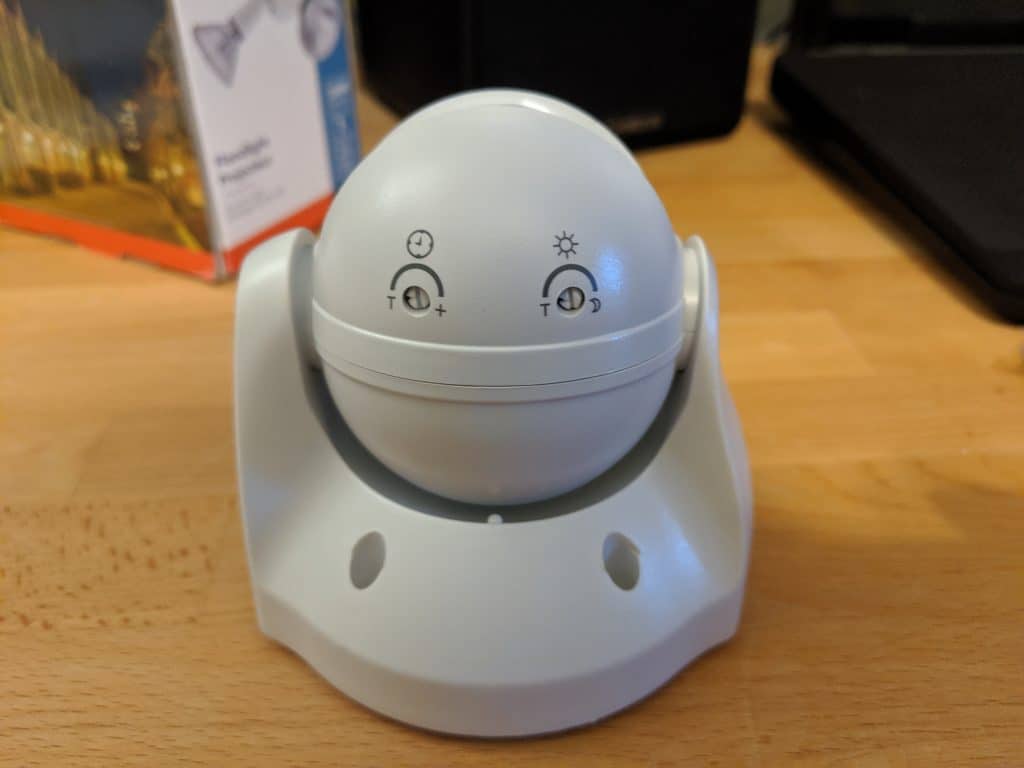
The ZSE29 comes with two dials on the bottom of the device to configure motion detection timeout and lux settings. These settings are used to configure triggers for Z-Wave association groups. If you are using the automation features of your Home Automation controller (like Home Assistant) these probably don’t apply to you.
If you are using Z-Wave Association groups these settings allow you to adjust when the ZSE29 will send updates to the group. When trying to automate outdoor lighting with this sensor, you probably don’t want to turn lights on during the day. The lux setting can be adjusted accordingly to only send notifications to the group depending on the current lux reading. The “motion time-out” dial configures the time-out duration for the association group. So you can control how long the lights are on.
Both of these settings can only be accessed using the physical dials on the device, rather than through Z-Wave configuration. I like the simplicity of it, but if you find yourself adjusting these often, getting up on a ladder to reach the dials would be a pain. It would also have been nice to get the lux reading back as a sensor value, but it is not exposed to the Z-Wave controller. Finally, it would have been good to configure some sort of “sensitivity” for the sensor for motion detection. You might not want to be alerted anytime someone drives down your alleyway, but only when they start going on your property. Without a sensitivity configurable that might be hard to get right.
Motion Detection
I think most would agree the most important part of a motion sensor, is how well it detects motion. The ZSE29 manual states the sensor can detect motion up to 30 feet. The sensor best detects movement to the sides of the lens rather than directly in front of it. For my setup, I was trying to detect any motion coming up to my garage or at my backyard gates. You can see where I mounted it in the picture below. The gate on the right side is roughly 10 feet away.
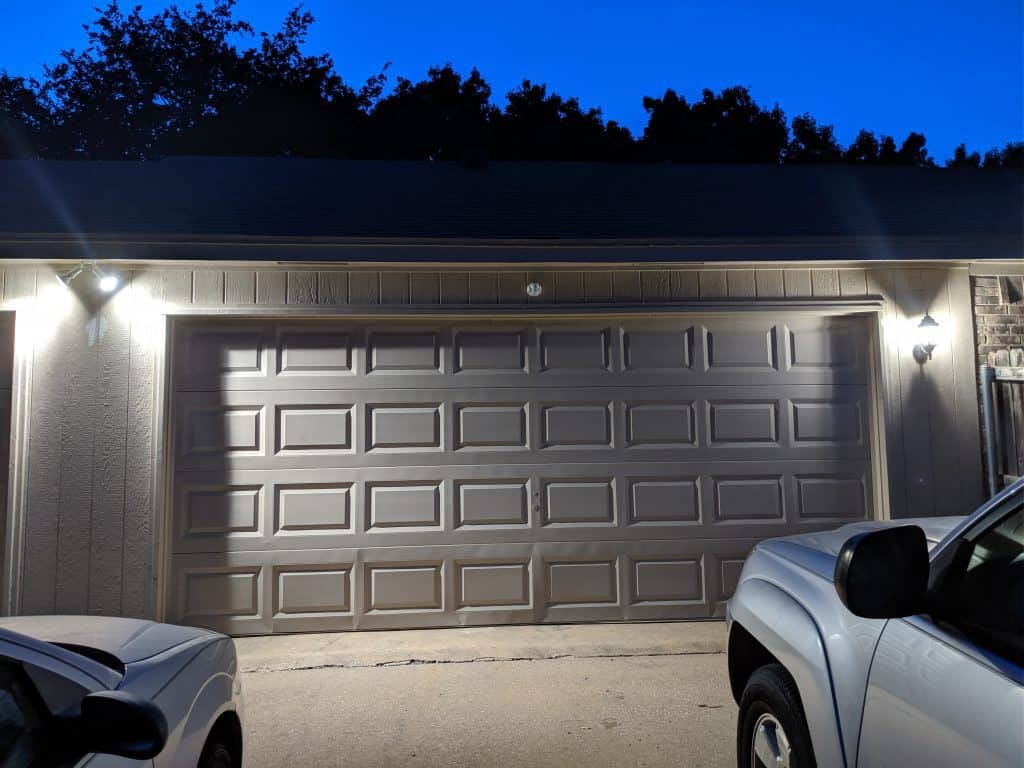
In my testing both at night and during the day, it didn’t have any trouble picking up the motion. The sensor responded very fast to any motion activities and with roughly 20-30 feet of the sensor, including walking around at the end of my driveway. I think as long as you are trying not to cover too large a space, the motion detection feature should work great for you.
Downsides
For me, the biggest downside is the device does not act as a Z-Wave repeater when powered. I’m sure lots of people would like to improve the strength of their Z-Wave network, especially on the perimeter of their home. I would have also liked to see the sensitivity be configurable somehow, although it is working pretty well in my setup. It would also have been good to get lux readings from the device, but that also might have impacted battery performance.
Installation
First off, you can add the sensor to your Z-Wave network before mounting it in its final location. Adding to your network is easy, start without batteries in the sensor. Then start the scan for new devices from your Z-Wave controller. For Home Assistant, this can be done in the Z-Wave configuration panel. With the scan going on, put batteries in the sensor and it will wake up and automatically try to join. If that didn’t work you can press the tamper switch 4-5 times quickly to join the network.
Mounting the ZSE29 Motion Sensor is relatively easy. It comes with a backplate you can use to mark where the screw holes should be. The sensor comes with screws and anchors so you can securely screw the backplate to a wall.
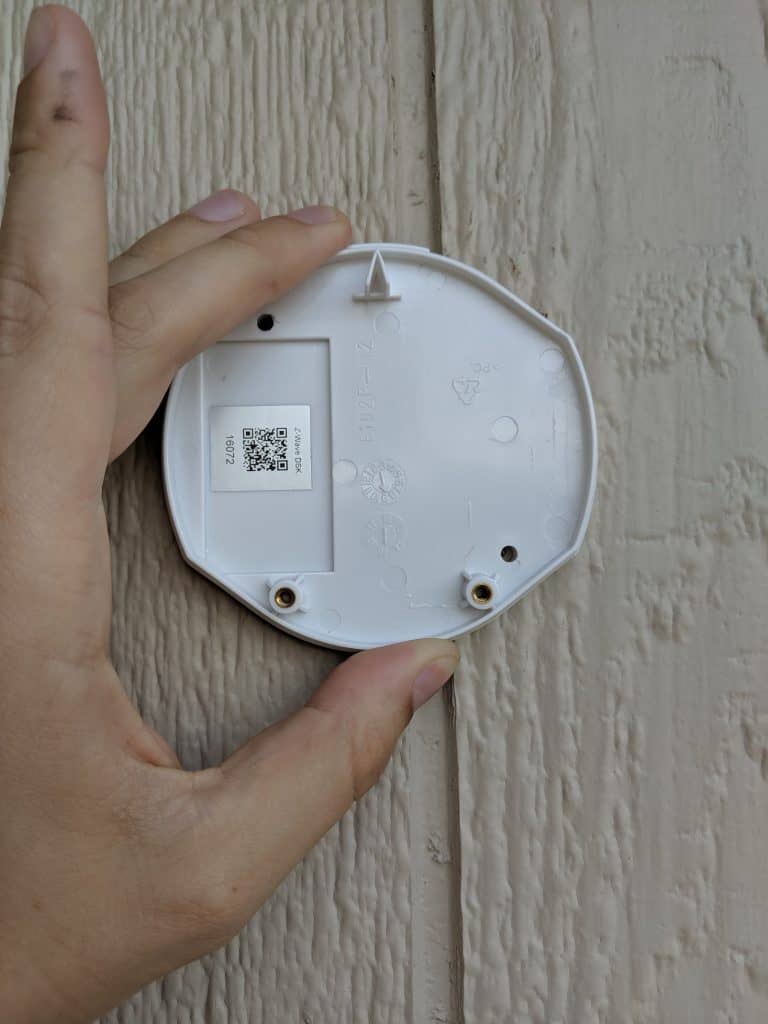
After putting the backplate on the wall it’s just two additional screws to attach the sensor to the backplate.
Home Assistant
I use Home Assistant as the main Home Automation controller in my home. With a little bit of configuration, you can set up your motion sensor to interact with all the other devices Home Assistant controls in your home. For my house, the outdoor lights automatically turn on and dim around sunset. When the motion sensor detects motion, all the lights immediately go to 100% brightness. Once the motion is no longer detected, Home Assistant waits 5 minutes before setting the outdoor lights to a low dim again. This section walks you through creating something similar in Home Assistant. You can view my Home Assistant configuration on GitHub.
Custom OpenZWave Config
If you’re not aware, Home Assistant uses the OpenZWave library for controlling Z-Wave devices. Unfortunately, as of Home Assistant 0.93.2 the version of OpenZWave used by Home Assistant does not support the ZSE29. Fortunately, I recently submitted a pull request to add support for the sensor.
To use the custom configuration files you can do the following:
- Download the latest development of the OpenZWave project (GitHub Download Link)
- Copy the config directory from the downloaded zip into your Home Assistant configuration directory (make sure you see a file for the Zooz ZSE29)
- Update your Z-Wave configuration in Home Assistant to use a custom OpenZWave configuration directory. You essentially set the
config_pathkey. You can see a snippet from my configuration below.
|
1 2 3 4 5 6 |
--- zwave: usb_path: /dev/zwave autoheal: "False" config_path: /config/openzwave_config |
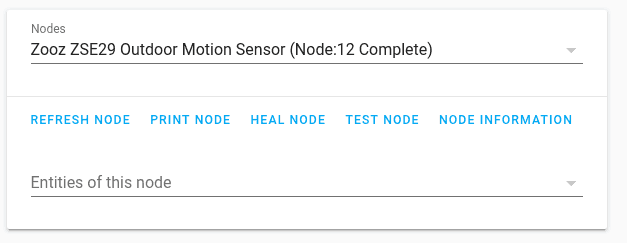
After you’ve done all that, you can reboot Home Assistant and pair your device. Home Assistant should now recognize the device.
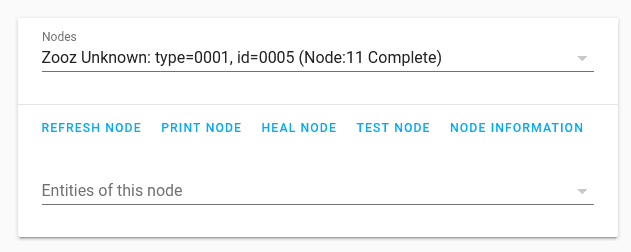
If it didn’t work, you’ll get an unknown device message. Double check the steps above, unpair your device and try a re-pair. This is an example of how it looks if it didn’t work:
Once it’s being found correctly, you can rename the sensor entities using the Home Assistant entity registry or by clicking on each entity and renaming.
Adding Sensors
Using Home Assistant Template Sensors, Binary Template Sensors, Alerts, and Groups we can create some nice sensors for writing automations and customizing the UI. You may have noticed that the Z-Wave node has a “burglar” sensor entity. The Home Assistant documentation shows us all the possible values of the burglar entity. First, let’s make a binary sensor that just checks if motion is detected or not.
|
1 2 3 4 5 6 7 8 |
--- platform: template sensors: driveway_motion_sensor: friendly_name: "Driveway Motion Sensor" device_class: motion value_template: "{{ is_state('sensor.driveway_motion_sensor_burglar', '8') }}" |
Next, let’s get the battery level as its own sensor. We’ll use the template sensor here to get the battery level attribute from the Z-Wave node.
|
1 2 3 4 5 6 7 8 9 |
--- platform: template sensors: driveway_motion_sensor_battery: friendly_name: Driveway Motion Sensor Battery Level unit_of_measurement: '%' value_template: "{{ state_attr('zwave.zooz_zse29_outdoor_motion_sensor', 'battery_level') }}" device_class: battery |
I’ll also create a binary sensor whenever the battery gets less than 15%.
|
1 2 3 4 5 6 7 |
--- platform: template sensors: driveway_motion_sensor_battery_low: friendly_name: "Driveway Motion Sensor Low Battery" value_template: "{{ states('sensor.driveway_motion_sensor_battery') | float < 15 }}" |
As well as an alert for the low battery level.
|
1 2 3 4 5 6 7 8 |
--- driveway_motion_sensor_battery_low: name: Driveway Motion Sensor Low Battery entity_id: binary_sensor.driveway_motion_sensor_battery_low repeat: 30 notifiers: - zack_telegram |
Finally, I’ll put all these new sensors in a group to show them in the user interface.
|
1 2 3 4 5 6 7 8 9 10 |
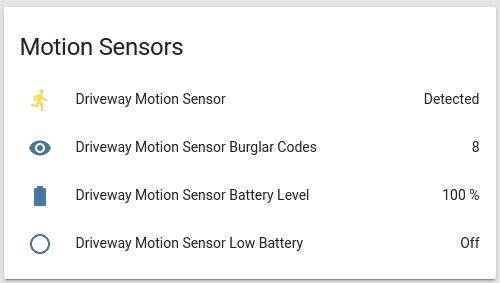
--- motion_sensors: name: Motion Sensors entities: - binary_sensor.driveway_motion_sensor - sensor.driveway_motion_sensor_burglar - sensor.driveway_motion_sensor_battery - binary_sensor.driveway_motion_sensor_battery_low - alert.driveway_motion_sensor_battery_low |
Which creates the following on my user interface.
While we’re making new entities, you can also make a timer entity to do the cooldown for your lighting automation. We’ll use this in the next section as a timer for how long to keep the lights on after motion is no longer detected.
|
1 2 3 4 5 6 |
--- # Timer used to reset the outdoor lights after motion has stopped reset_outdoor_lights: name: "Reset Outdoor Lights" duration: "00:05:00" |
Automating Outdoor Lighting
Now time to actually automate the outdoor lighting. My goal was to start the lights off dimmed at dusk. So 20 minutes after sunset I trigger a scene with my outdoor lights dimmed.
|
1 2 3 4 5 6 7 8 9 10 |
--- alias: Turn On Outdoor Lighting trigger: - platform: sun event: sunset offset: "+00:20:00" action: - service: scene.turn_on entity_id: scene.night_outdoor_lights |
Next, whenever motion is detected by the sensor I want to trigger a new scene with all my lights turned to 100% brightness. We’ll also cancel the “reset outdoor lights” timer in case it was running, since we just got a new motion detection event.
|
1 2 3 4 5 6 7 8 9 10 11 12 13 |
--- alias: Motion Detected Outdoors initial_state: False trigger: - platform: state entity_id: binary_sensor.driveway_motion_sensor to: 'on' action: - service: scene.turn_on entity_id: scene.night_outdoor_lights_motion_detected - service: timer.cancel entity_id: timer.reset_outdoor_lights |
Once motion has stopped we want to start the reset timer, so we’ll introduce a new automation to just trigger the timer.
|
1 2 3 4 5 6 7 8 9 10 11 |
--- alias: Motion Stopped Outdoors initial_state: False trigger: - platform: state entity_id: binary_sensor.driveway_motion_sensor to: 'off' action: - service: timer.start entity_id: timer.reset_outdoor_lights |
When the timer expires, it’s time to go back to dimming the lights. We’ll trigger the original scene when the timer expires.
|
1 2 3 4 5 6 7 8 9 10 11 12 |
--- alias: Reset Outdoor Lights Night initial_state: False trigger: - platform: event event_type: timer.finished event_data: entity_id: timer.reset_outdoor_lights action: - service: scene.turn_on entity_id: scene.night_outdoor_lights |
Finally, when the sun rises, we want all our lights to go off. We can trigger a new scene an hour before sunrise.
|
1 2 3 4 5 6 7 8 9 10 |
--- alias: Turn Off Outdoor Lighting trigger: - platform: sun event: sunrise offset: "-01:00:00" action: - service: scene.turn_on entity_id: scene.day_outdoor_lights |
The scenes used are pretty straightforward. The scene used at the beginning of the night turns dims the lights and turns on the automations needed throughout out the night.
|
1 2 3 4 5 6 7 8 9 10 11 12 13 14 |
--- name: Night Outdoor Lights entities: light.driveway_lantern_light: state: on transition: 5 brightness_pct: 25 automation.reset_outdoor_lights_night: state: on automation.motion_stopped_outdoors: state: on automation.motion_detected_outdoors: state: on |
When motion is detected the outdoor lights go to 100% brightness.
|
1 2 3 4 5 6 7 8 |
--- name: Night Outdoor Lights Motion Detected entities: light.driveway_lantern_light: state: on transition: 5 brightness_pct: 100 |
And at the end of night, the lights and automations go off so that they are not triggered during the day.
|
1 2 3 4 5 6 7 8 9 10 11 12 13 |
--- name: Day Outdoor Lights entities: light.driveway_lantern_light: state: off transition: 5 automation.reset_outdoor_lights_night: state: off automation.motion_stopped_outdoors: state: off automation.motion_detected_outdoors: state: off |
Summary
All in all, I’m glad I tried out the Zooz ZSE29 Outdoor Motion Sensor. It was easy to set up and worked well for my space. The sensor looks nice and integrates well with your home and should hold up to the elements. If you’re already invested in Z-Wave and looking to add some outdoor motion sensors, the ZSE29 is a solid bet.
If you liked this article, you may be interested in some of my other Z-Wave related articles.
- Convert Your Pull-Chain Ceiling Fan to Z-Wave
- Zooz ZEN22 Z-Wave Dimmer Switch Review
- Remote USB Z-Wave Controller over TCP
If you found this review helpful, please consider supporting the blog by joining my mailing list, following the blog on social media or directly through Buy Me a Coffee. Thanks for reading!