Ever introduce a pushbutton into your electronics project but have trouble getting a stable reading? Have you read about “debouncing” a button and want to learn how to easily accomplish this in software? This article goes over the background of switch and button debouncing and walks through my MicroPython code to accomplish this.
Background
So what even is debouncing? Whenever you press a button or flip a switch the signal takes a little bit of time to stabilize. Take for example a simple pushbutton that is using a pull-up resistor to 3.3V. When not pressing the button the power source pulls up the microcontroller input pin to 3.3V. MicroPython reads this value as a digital 1 indicating that the button is not being pressed. When the button is pressed down the input to the microcontroller is shorted to ground so that a digital 0 can be read.
Note that lots of devices have internal pull-up resistors for use, rather than adding an external resistor to the board.
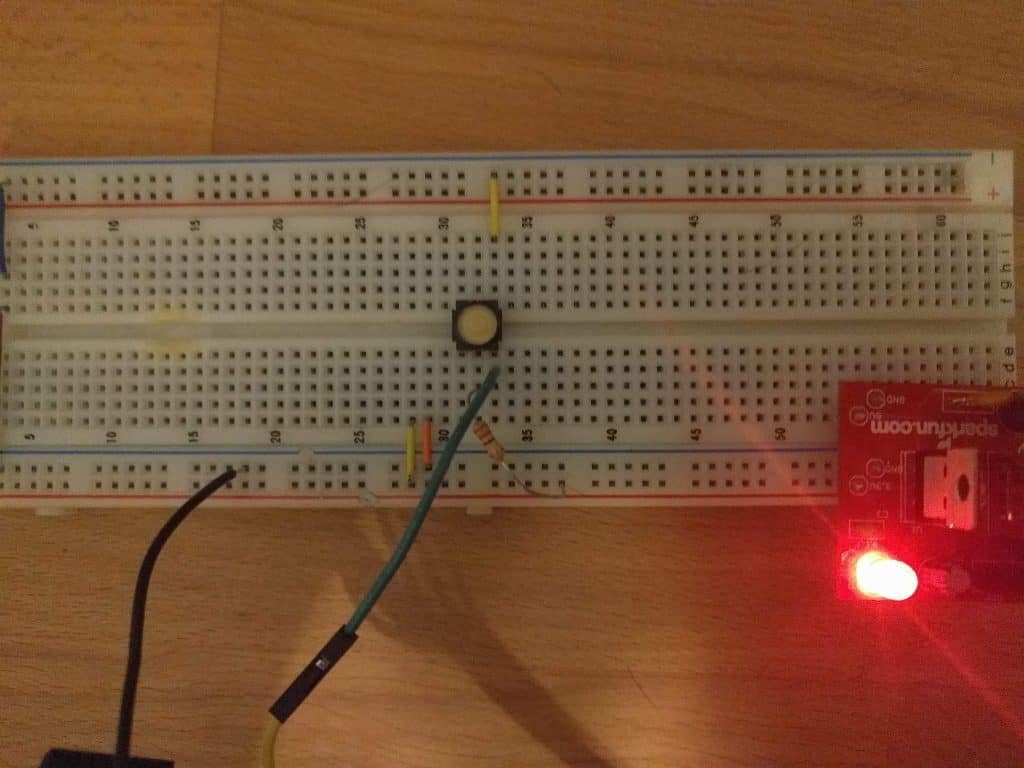
So while this is a pretty basic circuit, the debouncing issue occurs when reading the voltage at the MicroPython input continuously, you begin to see glitches in the signal. To show this, I did a simple breadboard with a pushbutton and power supply (FYI, this awesome SparkFun kit makes it really easy to add 3.3V/5V to a breadboard from a USB cable).
Now to demonstrate the glitches that occur when using a button, I used my logic analyzer (consider getting a USB logic analyzer if you don’t have one) to capture the voltage at the switch that could be fed into a microcontroller. You can see in the screenshot below that channel 0 goes low twice before stabilizing at 0V. The whole process only takes around 20 microseconds but it’s enough to cause debounce issues. When the microcontroller samples the voltage you may get an “ON, OFF, ON, OFF” pattern within that 20 microsecond period. The screenshot below captures just one demonstration of debouncing, there are lots of factors that go into a debounce period including the mechanical properties of the button and how the user presses it.
Software Debouncing
So we’ve identified the problem but how can we solve it? I’ve developed a MicroPython class that is fairly simple but reliably debounces switches and buttons. The general algorithm works like this:
- Wait until a switch transitions from high to low
- After the switch changes, start a timer to go off in 100 milliseconds
- When the timer expires, check that the switch is still low
- If the switch is still low, start the timer again to check the value in another 100 milliseconds
- Once 3 consecutive reads 100 milliseconds apart show the same value, the debounce period completes
Below is the class in its entirety, as you can see it’s not a ton of code, but it’s very effective for debouncing.
|
1 2 3 4 5 6 7 8 9 10 11 12 13 14 15 16 17 18 19 20 21 22 23 24 25 26 27 28 29 30 31 32 33 34 35 36 37 38 39 40 41 42 43 44 45 46 47 48 49 50 51 52 53 54 55 56 57 58 59 60 |
class Switch(): """Switch Class Class for defining a switch. Uses internal state to debounce switch in software. To use switch, check the "new_value_available" member and the "value" member from the application. """ def __init__(self, pin, checks=3, check_period=100): self.pin = pin self.pin.irq(handler=self._switch_change, trigger=machine.Pin.IRQ_FALLING | machine.Pin.IRQ_RISING) self.debounce_timer = machine.Timer(-1) self.new_value_available = False self.value = None self.prev_value = None self.debounce_checks = 0 self.checks = checks self.check_period = check_period def _switch_change(self, pin): self.value = pin.value() # Start timer to check for debounce self.debounce_checks = 0 self._start_debounce_timer() # Disable IRQs for GPIO pin while debouncing self.pin.irq(trigger=0) def _start_debounce_timer(self): self.debounce_timer.init(period=self.check_period, mode=machine.Timer.ONE_SHOT, callback=self._check_debounce) def _check_debounce(self, _): new_value = self.pin.value() if new_value == self.value: self.debounce_checks = self.debounce_checks + 1 if self.debounce_checks == self.checks: # Values are the same, debouncing done # Check if this is actually a new value for the application if self.prev_value != self.value: self.new_value_available = True self.prev_value = self.value # Re-enable the Switch IRQ to get the next change self.pin.irq(handler=self._switch_change, trigger=machine.Pin.IRQ_FALLING | machine.Pin.IRQ_RISING) else: # Start the timer over to make sure debounce value stays the same self._start_debounce_timer() else: # Values are not the same, update value we're checking for and # delay again self.debounce_checks = 0 self.value = new_value self._start_debounce_timer() |
- The class starts off by initializing some member variables to keep the internal state of the switch. The user must initialize a MicroPython Pin object before creating an object using the class. The user can also configure how many consecutive checks are required and their period, the defaults being 3 checks 100 milliseconds apart.
- The pin is initialized to trigger the
_switch_changemethod whenever the value of the switch rises or falls. - Once
_switch_changetriggers the start of debouncing begins. The device samples the current value and starts the debounce timer. Also the_switch_changecallback is disabled because it is only needed to start the debouncing algorithm. - When the timer expires the
_check_debouncecallback fires- If the value is the same as the previous value, the
debounce_checksvariable is incremented, keeping track of how many consecutive checks have had the correct value - If the value is different, then
debounce_checksis reset
- If the value is the same as the previous value, the
- Once
debounce_checksequals the number of checks to perform, thenew_value_availablevariable is set toTrueindicating to the application that the switch has a new value to work with.
Example Usage
Now that you have some background on the class itself, let’s look at how to use it in a real application. The class provides us with two important variables:
new_value_availablea boolean value to indicate if the switch has changed valuesvalue: the value of the switch
Because the class could be updating these variables at any time, including the timer callback functions, we need to make sure that we don’t modify these variables when the switch class might be modifying them at the same time! To do this, we can disable interrupts for a short time to read and copy the switch’s value into a local variable.
|
1 2 3 4 5 6 7 8 9 10 11 12 13 14 15 16 17 18 19 20 21 22 23 24 25 26 27 28 |
import machine from switch import Switch def main(): switch_pin = machine.Pin(5, machine.Pin.IN, machine.Pin.PULL_UP) my_switch = Switch(switch_pin) while True: my_switch_new_value = False # Disable interrupts for a short time to read shared variable irq_state = machine.disable_irq() if my_switch.new_value_available: my_switch_value = my_switch.value my_switch_new_value = True my_switch.new_value_available = False machine.enable_irq(irq_state) # If my switch had a new value, print the new state if my_switch_new_value: if my_switch_value: print("Switch Opened") else: print("Switch Closed") main() |
- The code begins by just creating a Pin object and then initializing the Switch object
- The main loop disables interrupts, so we can safely read and modify the objects member variables. If there is a new value available, we copy the value from the class into the application’s local variable
- Finally, we act on the new value of the switch, printing the appropriate message
This software demonstrates a basic debouncing technique that is still extremely effective. Adding this class adds minimal code size and processing overhead and makes it easy to debounce correctly. I’m using this technique in various electronics projects. Check out my GitHub Repo where I’ve shared the code along with the example.
Cross Compile the Code
While this class isn’t a ton of code, MicroPython could run out of memory while trying to run the module. Fortunately, there is a way to cross compile our code from Python source to bytecode. The bytecode will execute the exact same way as the original Python source but takes up less memory and can actually execute faster.
One thing to remember whenever doing a cross compile, the version of the MicroPython cross compiler must be the same as the version of MicroPython you’ll be running on the device. After cross compiling you end up with a .mpy file that is the bytecode version of the original source file. This bytecode syntax can change between MicroPython versions so it’s important that the two are in sync. My GitHub Repo currently contains a checked in bytecode version for MicroPython, check the README.md to see what version it is cross-compiled for.
To cross compile your own version you first need to clone the MicroPython repository.
|
1 |
git clone https://github.com/micropython/micropython.git |
After cloning you can checkout the version of the repository that matches the MicroPython firmware version you’re running. In this example I’ll checkout version 1.9.4.
|
1 2 |
cd micropython git checkout v1.9.4 |
Next, you can compile the cross compiler by running
|
1 |
make -C mpy-cross |
This essentially runs the Makefile in the mpy-cross directory. If everything works you should have a new executable in the mpy-cross directory called mpy-cross. You can use that to cross compile by calling it directly and giving it the path to the file you want to cross compile.
|
1 |
./mpy-cross/mpy-cross ~/Projects/micropython-debounce-switch/switch.py |
This creates the .mpy file you can upload to your device just like any other MicroPython .py file.
Next Steps
Some things I’d like to add in the future to improve the class:
- Add ability to pass in a callback function to the class to make switch changes easier
- Create more examples for using the class
- Profile a variety of switches and buttons to determine better debounce periods


