
I finally pulled the trigger on buying my first 3D printer! I went with the Ender 3 which has great reviews online and doesn’t break the bank to get started. Today’s article talks a little about the setup process of the Ender 3 but primarily focuses on setting up OctoPrint on a Raspberry Pi to monitor and control your new 3D printer. OctoPrint also features an API that can be integrated into your favorite Home Automation platform (like Home Assistant) to notify you when prints are done or watch progress over a video stream.
Setting up Ender 3 OctoPrint will allow you to:
- Upload gcode files from your web browser
- View the time elapsed and remaining time from your web browser
- Manually control the temperature and axis of your printer
- Watch a live video stream of your printer
Let’s jump right into setting up the Ender 3 with OctoPrint!
Setting up the Ender 3
Like I mentioned at the beginning of the article, I’m definitely not a 3D printer pro. Rather than review the printer and give build instructions I’ll link to some other great resources. When putting together my Ender 3 I basically followed the included print out instructions but found these other guides really helpful to make sure I was doing things right.
After getting it put together, this YouTube video helped me get it level and ready to start printing.
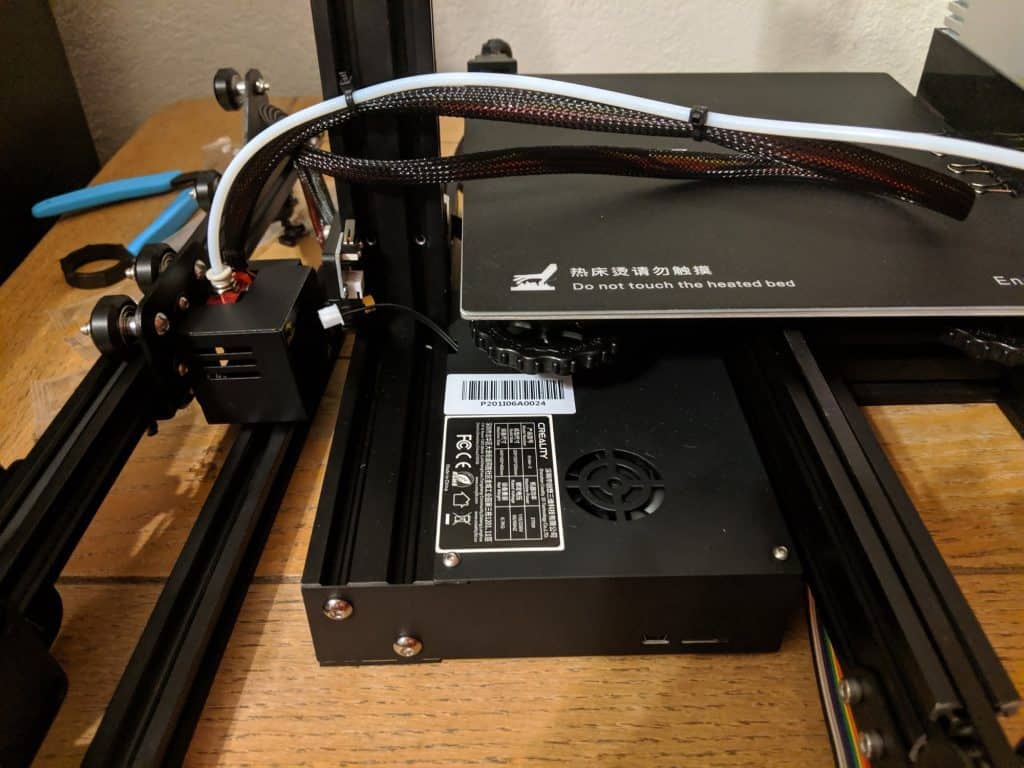
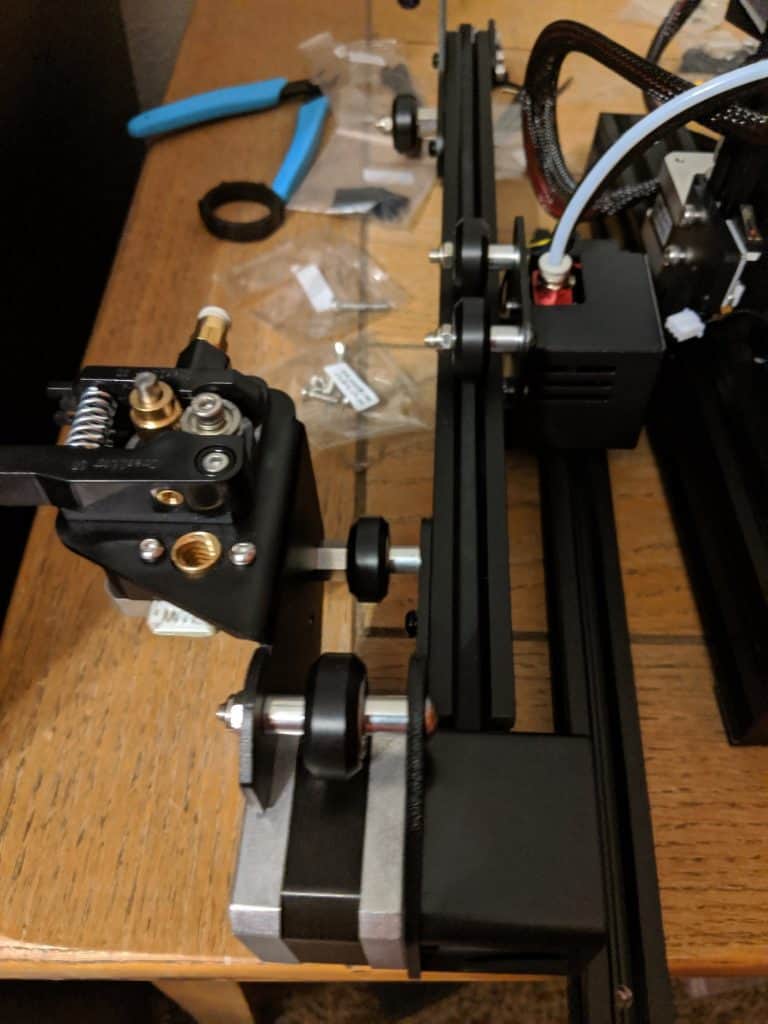
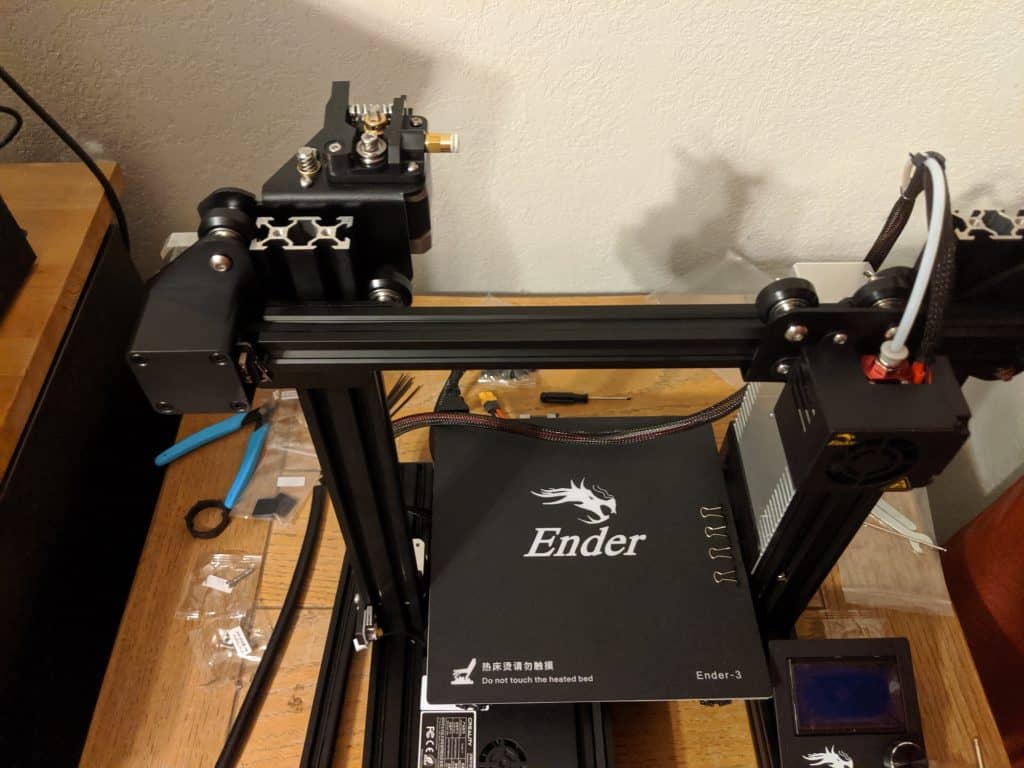
Here are some pictures of the new printer set up in my office:
Installing OctoPrint
If you’ve never heard of OctoPrint, it allows you to control and monitor your 3D printer from your web browser. You can run it on a Raspberry Pi and plug your 3D printer over USB to send jobs, control temperatures and even watch the print over a video stream.
On the hardware side, you’ll need:
- Raspberry Pi (Model 3B+ should be fine)
- Raspberry Pi camera module (optional, but needed for video streaming)
- Extension cable for the camera module
- SD Card for running Raspbian
Prepping Raspberry Pi
We’ll be running OctoPrint using Docker. This allows us to easily manage upgrades of OctoPrint without worrying about dependencies of the project, Docker will have everything needed for running OctoPrint within the image.
First off, if you’re coming from a fresh new OS installation on your Raspberry Pi, you’ll want to do a few things. Launch the configuration screen by running sudo raspi-config. You’ll want to change a few things:
- Advanced Options -> Expand Filesystem
- Interfacing Options -> Camera -> Enable (optional, if you’re using the Raspberry Pi camera module)
- Advanced Options -> Memory Split -> Bump up to 256 (optional, if you’re using the Raspberry Pi camera module)
- Localization Options -> Change Locale/Timezone to match your location
- Network Options -> Hostname (optional, I changed mine to octoprint)
Browser through the other menus to see if there is anything else you might want to set. After quitting the configuration tool restart your Raspberry Pi.
Installing Docker
Installing Docker is pretty straightforward on the Raspberry Pi. The Docker community provides a shell script to run through the normal installation steps. You can download it with curl and then let it run its course.
|
1 2 |
curl -fsSL https://get.docker.com -o get-docker.sh sudo sh get-docker.sh |
Afterward, , add the pi user to the docker group.
|
1 |
sudo usermod -aG docker pi |
Make sure you log out and log back in after adding yourself to the group so that the change is applied. Then we can pull the image we will be working with.
|
1 |
docker pull nunofgs/octoprint:1.3.11-arm32v7 |
If you’re seeing the image being downloaded then the installation went as planned and you’re now ready to run Octoprint!
Running OctoPrint
Finally, time to run the Docker container. To control your printer, plug in the printer using a USB cable into one the USB ports on the Raspberry Pi.
You’ll then need to figure out the serial device that the printer enumerated as. This is typically something like /dev/ttyUSB0. One thing I like to do is use the full device path using the ID number so that the /dev/ttyUSB0 doesn’t change on a reboot of the Raspberry Pi. You can figure this out by running ls -la /dev/serial/by-id/ to see IDs of all the USB devices.
Also, we’ll need a place to store all the configuration data for Octoprint. I made a directory at /var/lib/octoprint that I’ll mount into the container to hold the data.
Our final docker command is:
docker run -d --restart unless-stopped --device /dev/serial/by-id/usb-1a86_USB2.0-Serial-if00-port0:/dev/printer --device /dev/video0:/dev/video0 -v /var/lib/octoprint:/data -p 80:80 nunofgs/octoprint:1.3.11-arm32v7
A couple of things to note in this command:
-dallows us to run indetachmode so that the container runs in the background--restart unless-stoppedtells Docker to start the container on reboot, unless it was explicitly stopped by the user--deviceis used to give access to the USB connection to control the printer and the Raspberry Pi camera. You’ll notice that I mapped the USB device to/dev/printerwithin the container, to give it an easier name to remember for the configuration. If you’re not using the camera you don’t need to give access to the/dev/video0device.-pgives access to port 80 so we can use the web interface
Configuring OctoPrint
Give a minute or two for your Docker container to start up and then head to the web-based configuration for Octoprint by putting your Raspberry Pi’s IP address in your browser.
The first couple of pages are pretty straightforward. You set up your access control for OctoPrint, anonymous usage tracking, online connectivity, and plugin blacklist. Choosing the defaults for all those should be fine for a new installation and just getting started with OctoPrint.
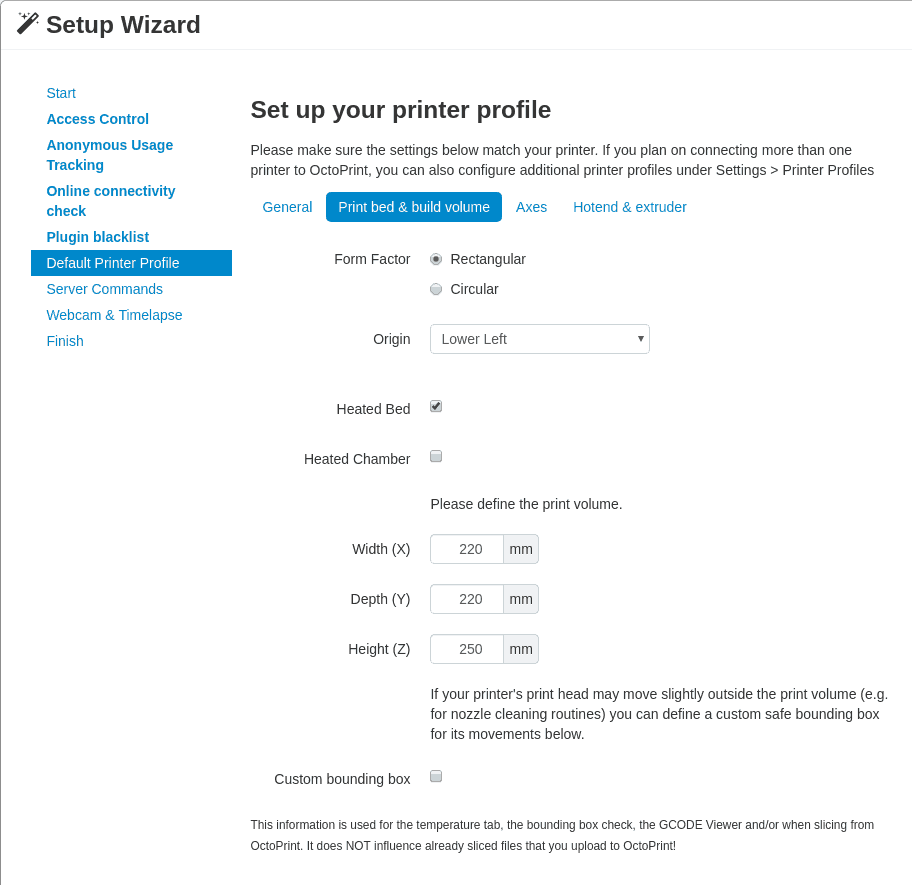
When you get to the “Default Printer Profile” page in OctoPrint you’ll want to make sure you input the correct dimensions and settings for the Ender 3. Specifically, you’ll want to set the dimensions to 220mm * 220mm * 250mm with a heated bed.
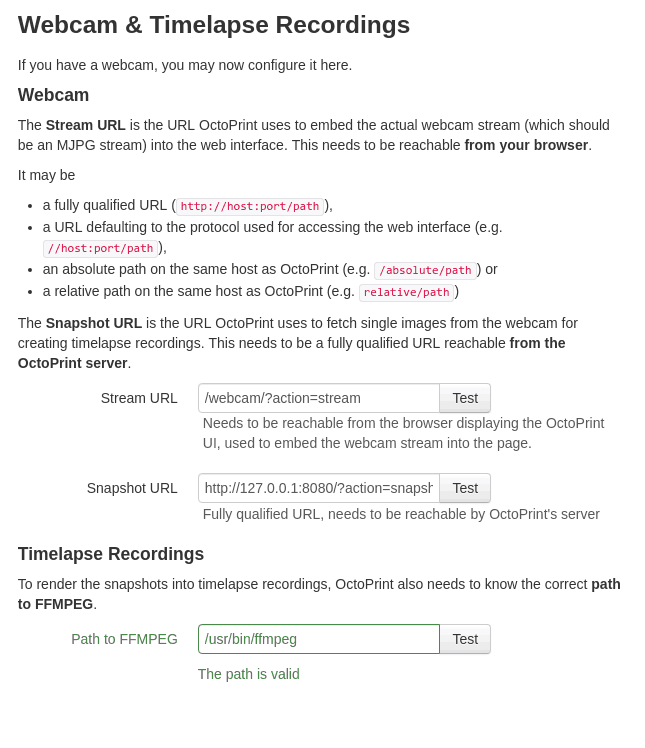
If you’re using the Raspberry Pi camera, you can also set up the webcam and timelapse settings. Set the stream URL to /webcam/?action=stream and Snapshot URL to http://127.0.0.1:8080/?action=snapshot.
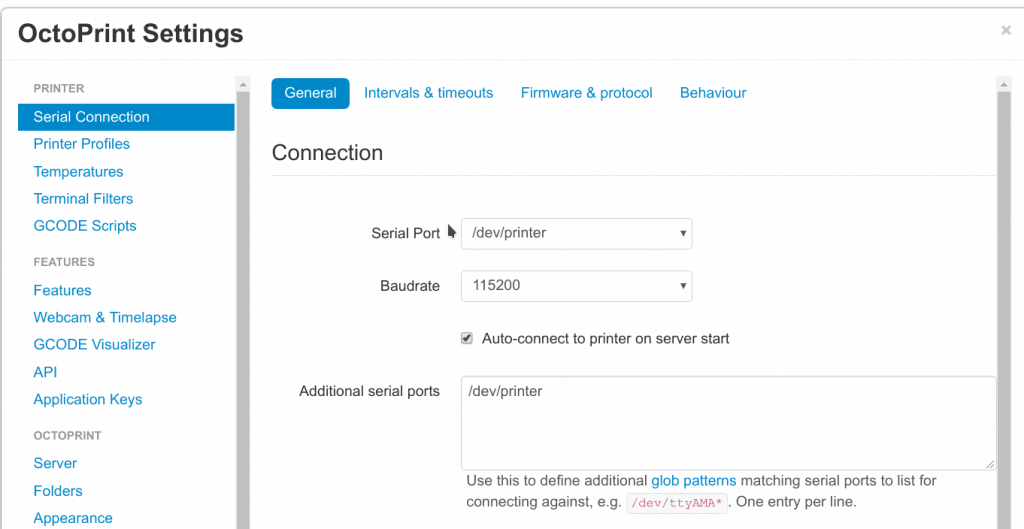
Click through the rest of the wizard and go with the defaults. If you decided to rename your serial connection to your printer to /dev/printer like I did in my Docker container, you’ll also need to add this name to the list of names OctoPrint searches. Open up the settings menu by clicking the wrench in the top right of the home screen and go to the “Serial Connections” tab. There you can /dev/printer to the list of printer connections.
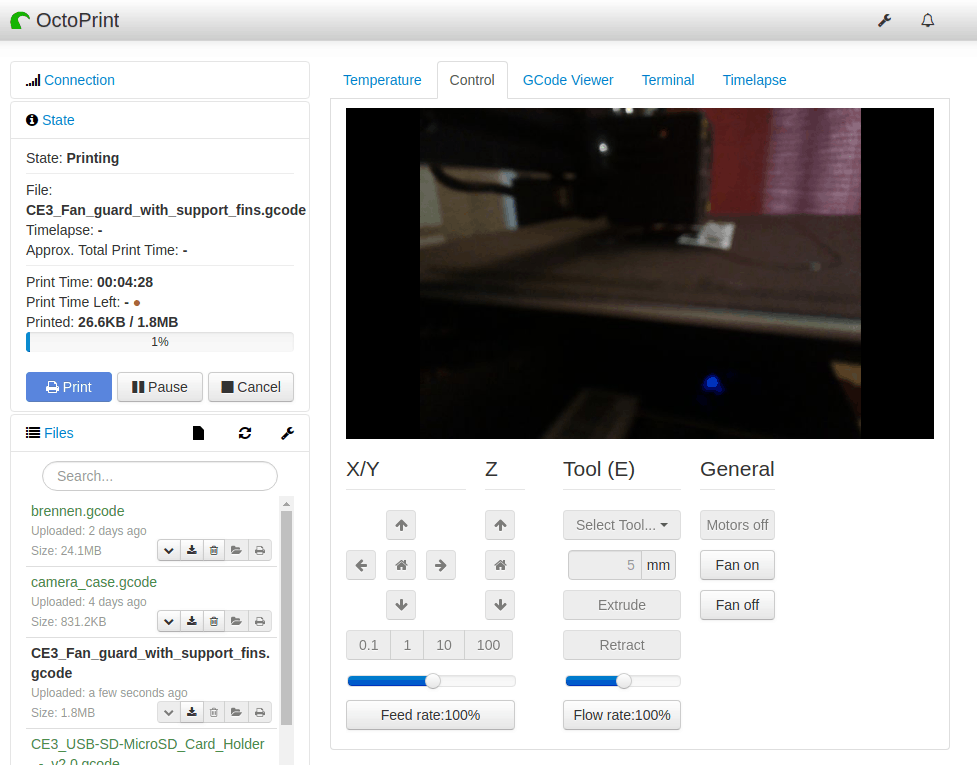
Close the settings menu and you should now be able to connect to your printer succesfully. After sucusfully connecting you can start a print or control the printer using the “Control” tab.
Printing Accessories
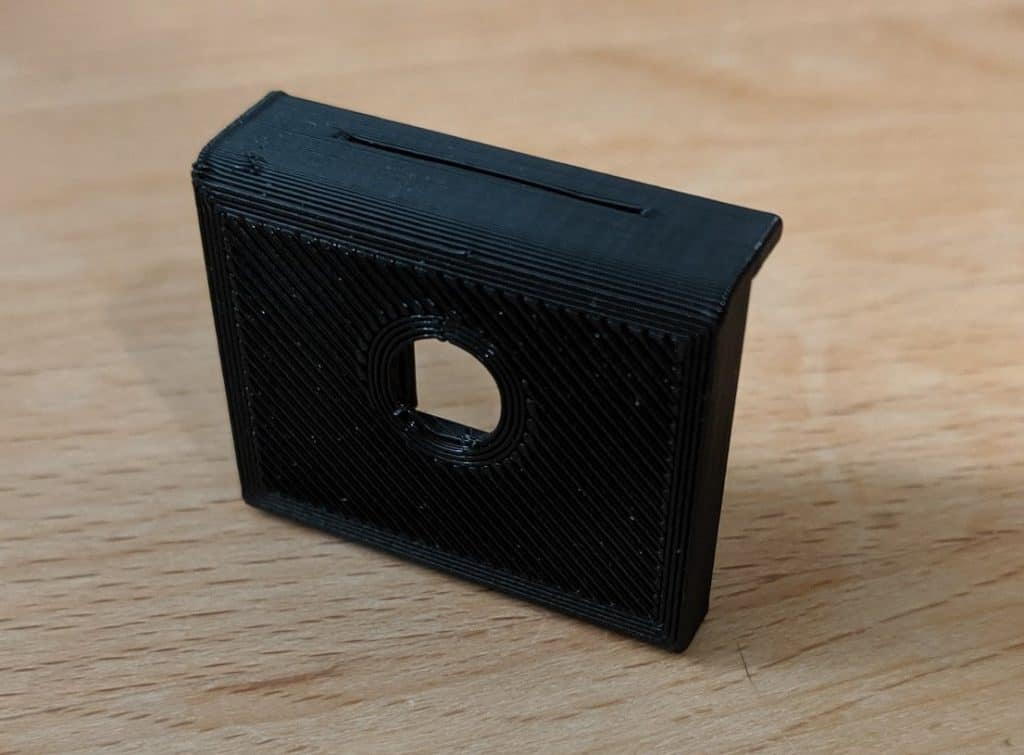
The finishing touch is to actually use your 3D printer to print some accessories to improve the OctoPrint experience. First off, check out this Raspberry Pi camera holder, so you can mount the camera to the Ender 3 easily.

Another popular print for the Ender 3 is a filament guide. There are other great accessories to print so just spend some time browsing Thingiverse to see what looks interesting to you.
Reverse Proxy
This is a completely optional step, but if you’d like to be able to access your OctoPrint setup at a nice URL on your local network (like https://octoprint.example.com), you can setup a subdomain as part of a reverse proxy. If you’ve never set up a reverse proxy, check out my guide on setting up a Reverse Proxy with HTTPS without Opening Ports.
I set up a reverse proxy on my network by adding the following octoprint.subdomain.conf file.
|
1 2 3 4 5 6 7 8 9 10 11 12 13 14 15 16 17 18 19 20 21 |
server { listen 443 ssl; listen [::]:443 ssl; server_name octoprint.*; include /config/nginx/ssl.conf; client_max_body_size 0; location / { resolver 127.0.0.11 valid=30s; proxy_pass http://192.168.1.13:80; proxy_set_header Host $host; proxy_http_version 1.1; proxy_set_header Upgrade $http_upgrade; proxy_set_header Connection "upgrade"; } } |
You can see in the configuration that the proxy_pass variable is set to an IP address. That’s the IP address of the Raspberry Pi running OctoPrint, so you’ll definitely want to change that in your setup.
Home Assistant Integration
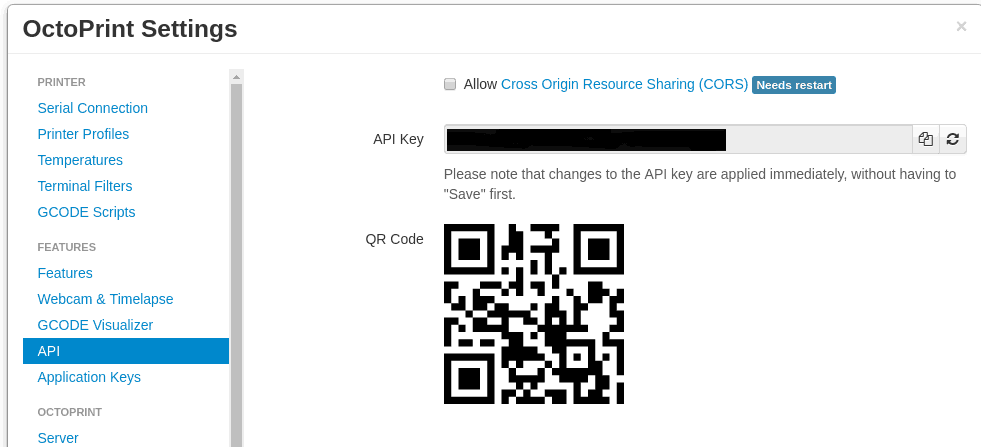
Home Assistant integrations pretty straightforward. OctoPrint is an officially supported integration, so nothing special is needed after Home Assistant is up and running. First thing you’ll need to do though is getting your OctoPrint API key. Open up your OctoPrint settings and go to the “API” tab and copy the long string.
Then you’ll need to enable the OctoPrint integration by adding it to your configuration file. Note that in my snippet below I’m using port: 443. That’s because I’m accessing Octoprint over HTTPS through my reverse proxy. If you’re not doing that, keep the port to 80 and set ssl: False.
|
1 2 3 4 5 6 7 8 |
octoprint: - host: !secret octoprint_host api_key: !secret octoprint_api_key name: "Ender 3" port: 443 ssl: True number_of_tools: 1 bed: True |
After restarting Home Assistant, you’ll get a bunch of new sensors tracking the status of the Ender 3. I used the print status to create an automation to send me a Telegram message whenever a print was finished if it was at a reasonable time of day.
|
1 2 3 4 5 6 7 8 9 10 11 12 13 14 15 16 17 |
--- alias: Send a notice when 3D print is done trigger: - platform: state entity_id: binary_sensor.ender_3_printing to: "off" from: "on" condition: - condition: time before: "23:00:00" after: "5:00:00" action: - service: notify.zack_telegram data: message: "Your 3D print is complete" title: "Print Complete" |
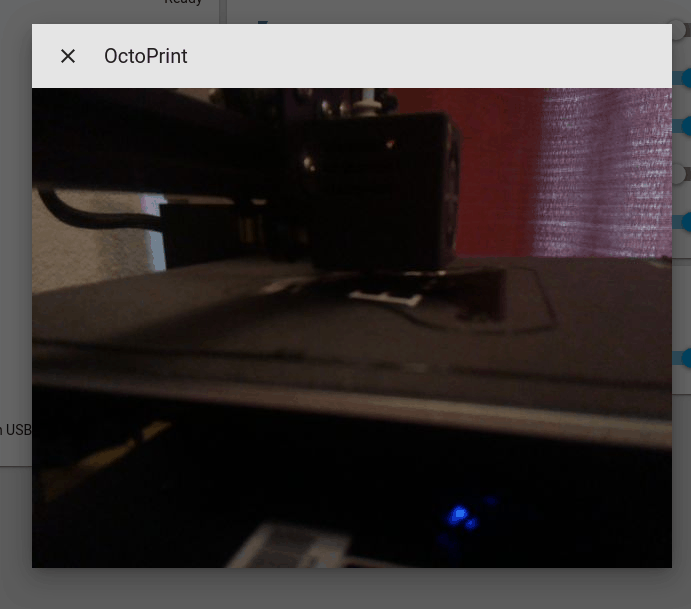
You can also add the camera feed to your Home Assistant instance using the MJPEG Camera Integration, so you can monitor the feed from your Home Assistant UI or create automations using it.
|
1 2 3 4 5 6 |
--- platform: mjpeg name: OctoPrint still_image_url: http://192.168.1.13/webcam/?action=snapshot mjpeg_url: http://192.168.1.13/webcam/?action=stream |
Restarting Home Assistant shows the new camera feed that you can click and watch in real-time.
Conclusion
I’m really excited to jump into 3D printing and the Ender 3 seems like a great starter printer for anyone considering the hobby. I’ll mostly be using it to build enclosures and custom parts for my various DIY smart home projects. Setting up OctoPrint was pretty straightforward using Docker and I love that I can monitor my 3D printer over video using the Home Assistant interface. Setting up Ender 3 with OctoPrint is a great self hosted project to improve your home infrastructure.
Thanks for reading, if you like self-hosting your own software using Docker you might like some of these other articles on my blog:
- Start Docker Compose using systemd on Debian
- Reverse Proxy with HTTPS without Opening Ports
- Self Host Password Management: Bitwarden
Please consider supporting the blog by joining my mailing list, following the blog on social media or directly through Buy Me a Coffee. Thanks for reading!